
1 August, 2018
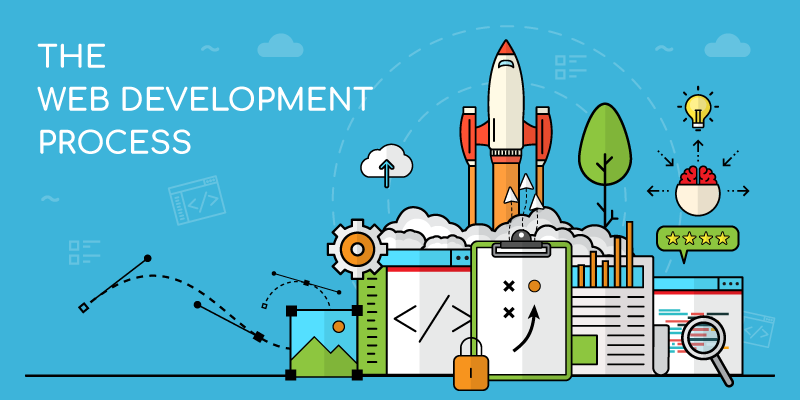
As with any construction project, there are specific steps and processes that need to be followed once you’ve decided to build a website or web application. Following this process meticulously is vital, as skipping a single detail can cause any number of unforeseen complications in later stages of the web development process.
Below I describe the five crucial phases of a web project lifecycle, from start to launch, and their importance in the overall process.
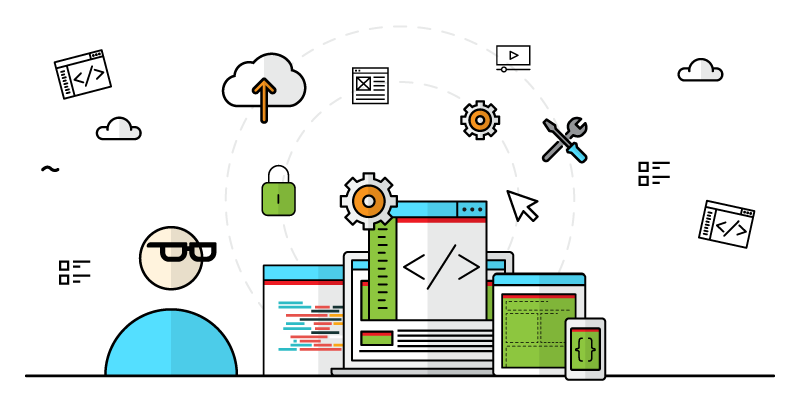
Step 1: Gather Information
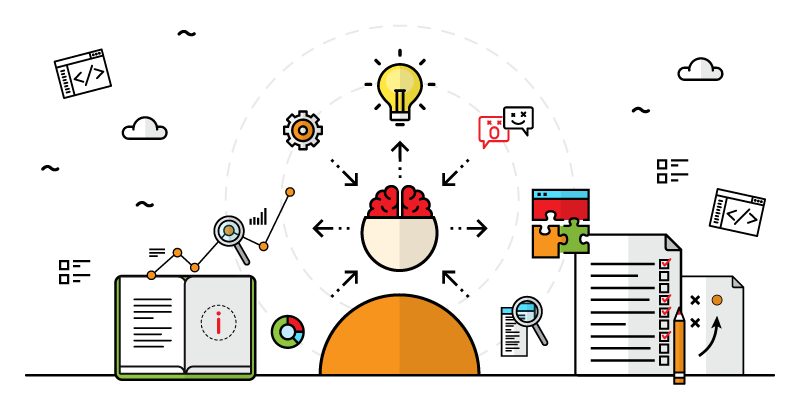
The first step when embarking on a web development project is to gather all the relevant information. This essentially lays the groundwork for the rest of the process.
To do this effectively, you need to start by determining what the goals of the development are. Once you have made a list of achievable goals, you can then conduct business analysis, gathering specific information about the products, competitors and the industry you are targeting as a whole.
By gathering this information (such as product components, competitor features and industry demand), you will be able to use this information either to start planning your development or to present to the person who will be responsible for the planning phase.
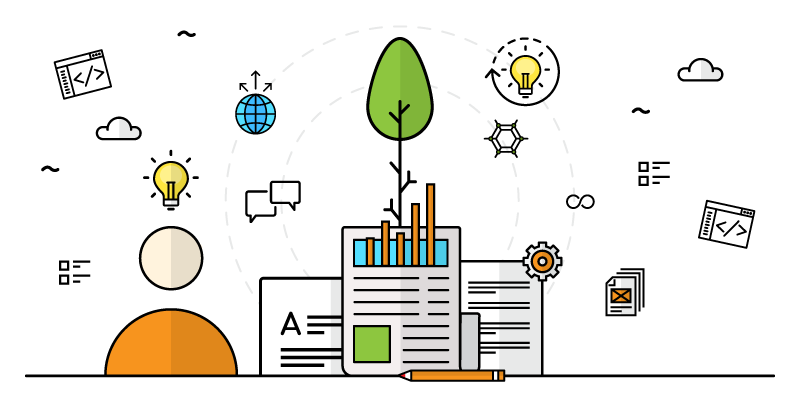
Step 2: Make a Plan
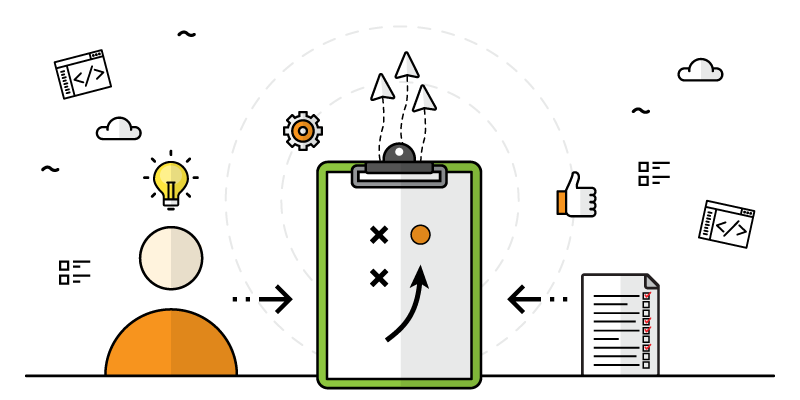
This is the most important step of the entire process.
As Benjamin Franklin once said: ‘Failing to plan is planning to fail’. This is especially true when it comes to web development.
As someone who has been involved in the process of developing more than 200 web projects, both as a hobby and in a professional capacity, I can personally tell you that any of the projects I have worked on that have skipped this step have failed.
Planning involves taking all of the information gathered in the first step and putting it into the cycle that the entire process will follow. This means separating the information into separate sections for design, content and programming. Once this is sorted, you will be able to start creating an individual plan for each of the relevant teams to proceed.
At DQ Media, we use this phase to map out the features to be developed by creating technical specifications for the programmers to follow. Additionally, we strip down the specifications to provide them to the design team so that they are aware of all pages and features that require design.
By doing it this way, we allow the programming team to start working on the bare bones logic that will power the system, while using a completely clean layout. And the designers then have additional time to polish the final design that is implemented.
If the project is not technically complex, and requires mainly design and content, the programming team will not be involved at this point. Instead, the design and content team will plan together to produce the design and content for the programmers to implement.
Step 3: Implement & Develop
Traditionally, most people add three separate steps at this point: one for design, a second for programming and a third for content. However, having all three of these elements executed as individual steps not only adds to the delivery time of the project, but it can also lead to teams waiting for delivery of resources from other teams before they can proceed.
The ability to carry these three steps in the same process comes down to your ability to carry out planning effectively in second step. If you plan well enough, each of your separate teams will be able to start work at the same time and they can actually help each other as everyone will be working with the same mindset at the same time.
3.1 Design
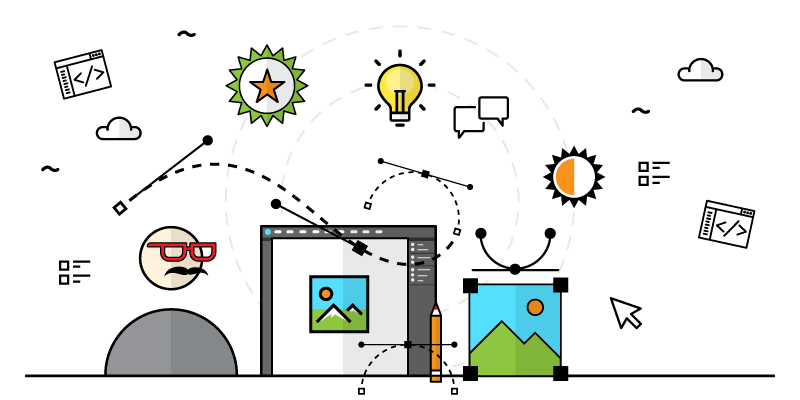
By default, the first production step is design; without design, any programming and content work that is done will not be executed with precision.
The design step should start with wireframes being built for the website. Wireframes show the placement of elements on the page and are used as base guidelines for the final designs that will be developed. During the wireframing phase of design, the design team should engage in their own form of research, looking at what your top competitors are doing, figuring out what works and what doesn’t. They will then add these elements on pages with other elements that have already been agreed on with the project management team.
Once the wireframes are completed and the layout of the site is planned, the design team can then start working on specific elements of the design, adding text, buttons and images to give the project team and client a look at what the end-product will look like.
3.2 Programming
When developing technically advanced web projects, the programming phase can be started without design. This is because complex logic can be built without seeing how it will be displayed to users on the front of the site. By starting functional or system development in parallel with the design, you not only optimise the usage of your teams’ time, but you can also cut down on the overall development time of the project.
In the case where there is no complicated logic or functionality to be developed, or you are using an existing system that does not require any new logic added to it, programming will only be started once the design phase of the implementation has been completed. This means that the programming team will only be added to the development process after the approval of the final designs to be implemented.
3.3 Content Creation
The third part of the implementation process is the content creation.
In most cases, content work will only begin once the designs have been delivered and approved by the client for who the development is being undertaken (whether an internal stakeholder or customer). The primary reason for waiting is so that the content team is able to focus their writing efforts to fill the designs rather than having to rework any writing done before the designs are complete.
This doesn’t mean that the content team should sit idle while waiting for designs to be delivered, though. They can use this time to research the subject matter they will be writing about, as well as review any major competitors in the industry to ensure that the content is written and optimised according to the tone and language that is used throughout the industry.
Step 4: Testing
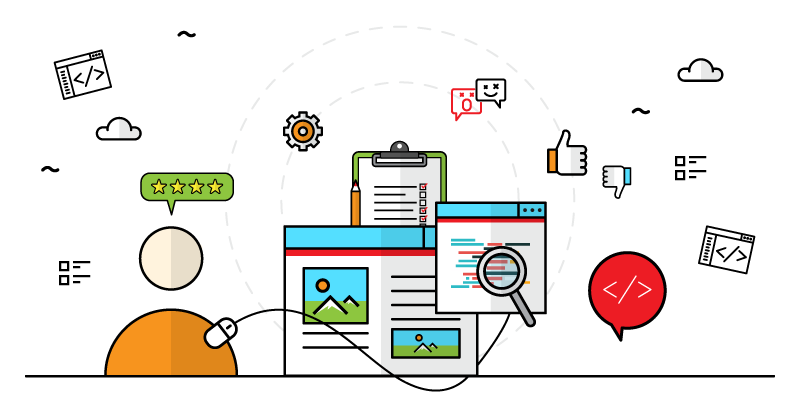
Once the three implementation phases are completed, they are generally put into a staging environment. A staging environment is designed to be as close to a real operational environment as possible, without giving access to all internet users.
Generally, when developing web projects, there are multiple testing rounds conducted by the development company in the staging environment before access is given to the ordering client. These rounds are designed to catch all major bugs that are present in the application before it is tested by the client.
There are generally two types of testing conducted during this phase: functional testing and design testing. In the early rounds of testing, the design testing is done to ensure that the design is acceptable. Once the general design testing is completed, it is ready to be presented to the client for any final remarks. Once these remarks have been given and enforced, then design testing is done far more intensely, checking exact designs to ensure that they meet the original designs given to the programming team.
With functional testing, the intensity of testing is switched. The intense testing is done before presenting it to the client and once the functionality is approved – the functional testing is done in a more relaxed way. This is to emulate the experience that real users will experience on the site.
From our experience, we find that the more relaxed way of testing is a great way to find usability bugs that are not found when intense testing is done.
Step 5: Launch the Website
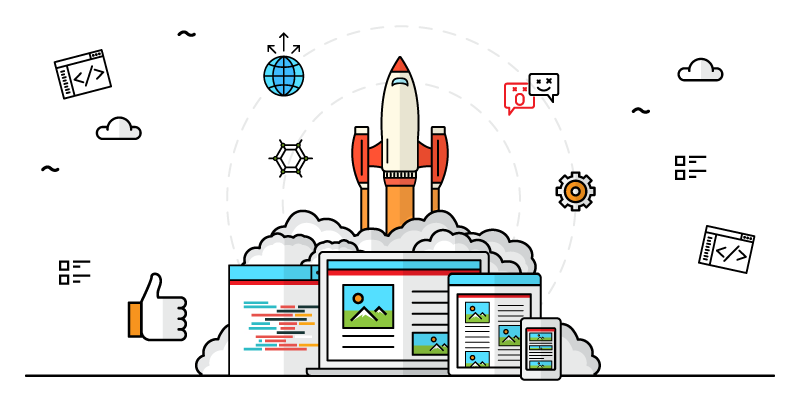
If the previous steps have been handled properly, this should be the easiest and least stressful of them all, as you should have a good-looking, well-written and functional web project ready for launch.
During the technical side of the launch, the only team involved will be your programming team, as the live environment for hosting the project should already be set up and ready for them to just install the application.
If you have set a specific date and time for the project to go live, and have advertised this date, then be sure to launch the live version at least a day before and to put up a landing page. This is to ensure that you have enough time to make any necessary minor tweaks to the design or text and it also ensures that if the development team does hit any snags, they will have time to fix them before taking the site live.
After the Launch
The role of the web development team does not end upon the launch of the website. As the creators of the code that will run the web project, your responsibility will carry on until the project is shut down or the owner of the project employs someone else to take over from you. You will need to continually manage and update the project to ensure that it runs as smoothly as possible. You can also monitor the performance of the project for the client and start making suggestions based on site usage that can lead to additional development work on the project.
As a media company focused on custom web development, we follow this process, but we are constantly looking for ways of optimising and making the entire process as stress free for ourselves, and most importantly, the client. If you are looking for someone to help build your next web project, why not contact us and find out how DQ Media can guide you through this process?
